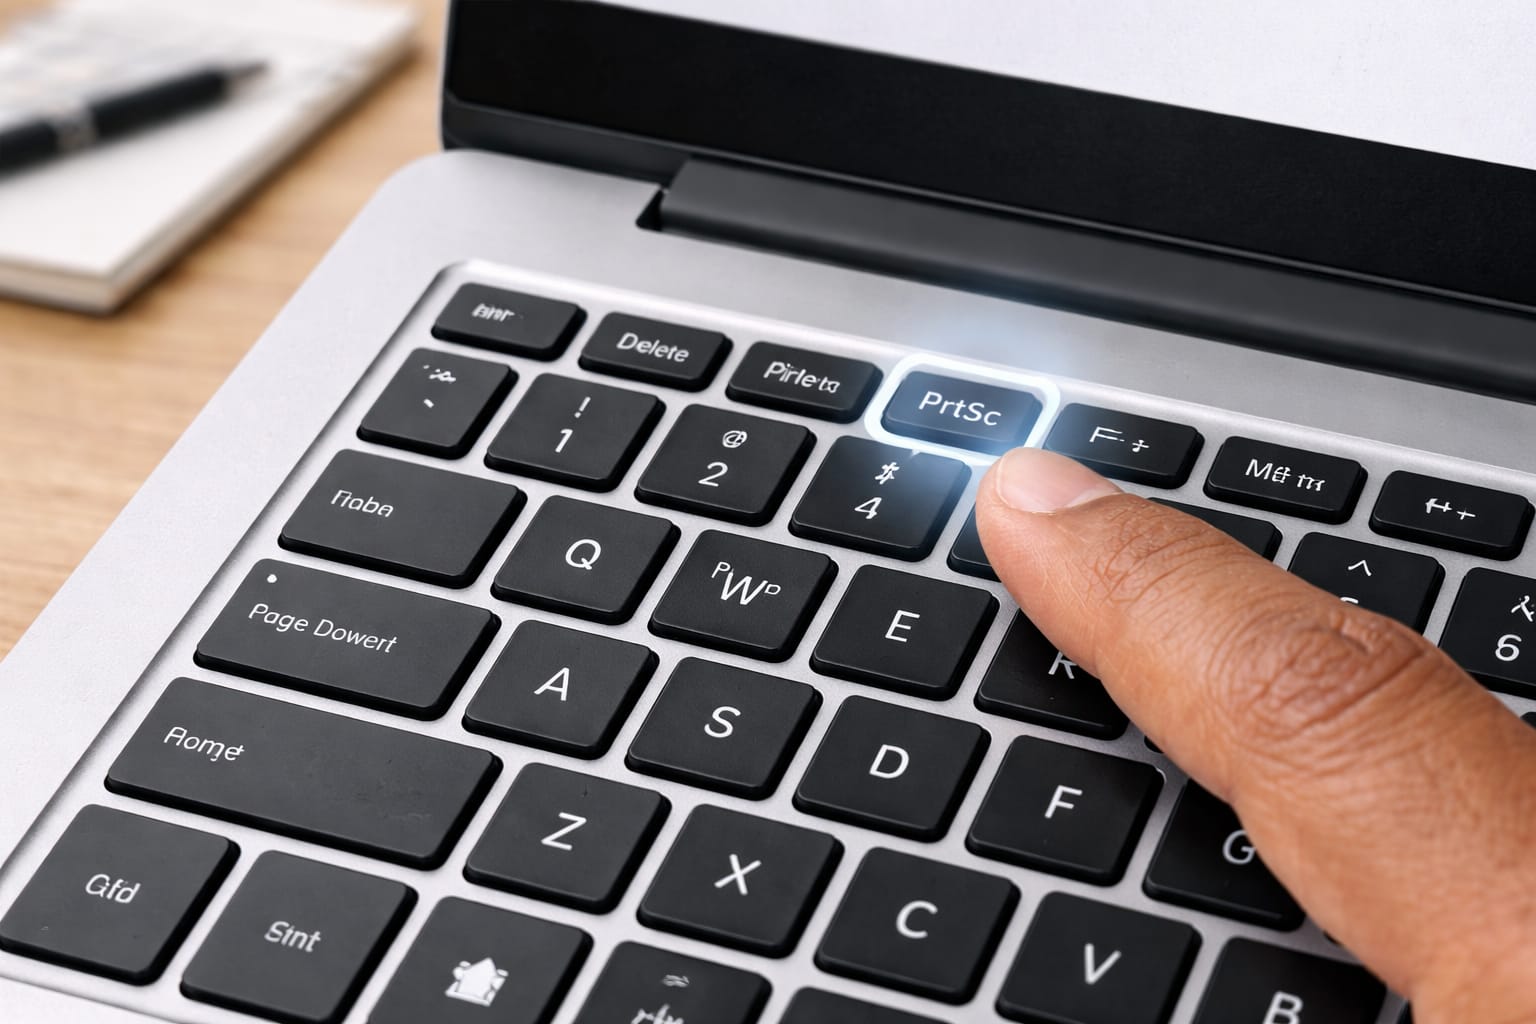
Taking a screenshot on a laptop should be simple, but many users struggle because different laptops use different shortcut keys. This guide explains every working method to take a screenshot on Windows, Mac, and ChromeOS — using easy, step-by-step instructions.
Why This Problem Happens?
Screenshots fail mainly because users press the wrong keys or use shortcuts that don’t apply to their device. Based on user reports, outdated settings, disabled snipping tools, keyboard function lock, or storage issues can also prevent saving screenshots. Different laptop brands also use different hotkeys.
Common Reasons
- Wrong shortcut key for your laptop model
- Snipping Tool disabled or outdated
- Keyboard Function (Fn) key not enabled
- Low storage causing screenshots not to save
- System glitches needing restart

How to Take Screenshot on Laptop – Step-by-Step (All Methods)
Below are the most commonly used, easy methods, categorized by Windows, Mac, and Chromebook.
Windows Laptop Screenshot Methods
1. Take Screenshot Using Print Screen (PrtSc) Key
Answer (40–60 words):
The Print Screen method captures your entire laptop screen instantly. According to support guidelines, this is the most common way to take screenshots on Windows laptops. The screenshot is copied to the clipboard, and you can paste it into Paint, Word, or any editing tool.
Steps:
- Press PrtSc on your keyboard.
- Open Paint → Press Ctrl + V.
- Click File → Save.
2. Take Screenshot and Save Automatically (Windows + PrtSc)
Answer:
This shortcut automatically saves your screenshot without opening any app. It stores the file inside the Pictures → Screenshots folder.
Steps:
- Press Windows + PrtSc together.
- Screen blinks once → Screenshot saved automatically.
- Go to This PC → Pictures → Screenshots.
3. Capture a Specific Area (Windows + Shift + S)
Answer:
Snip & Sketch lets you select only the portion of the screen you need. This is a commonly used method when capturing form errors or specific sections of a webpage.
Steps:
- Press Windows + Shift + S.
- Choose from: Rectangle, Freeform, Window, Full screen.
- Snip appears → Click notification → Save.
4. Take Screenshot Using Snipping Tool
Answer:
Snipping Tool is built into every Windows laptop and allows full, partial, or delayed screenshots. It works even when keyboard shortcuts fail.
Steps:
- Open Snipping Tool (search from Start Menu).
- Click New → Select area.
- Save the screenshot.
How to Take Screenshot on MacBook
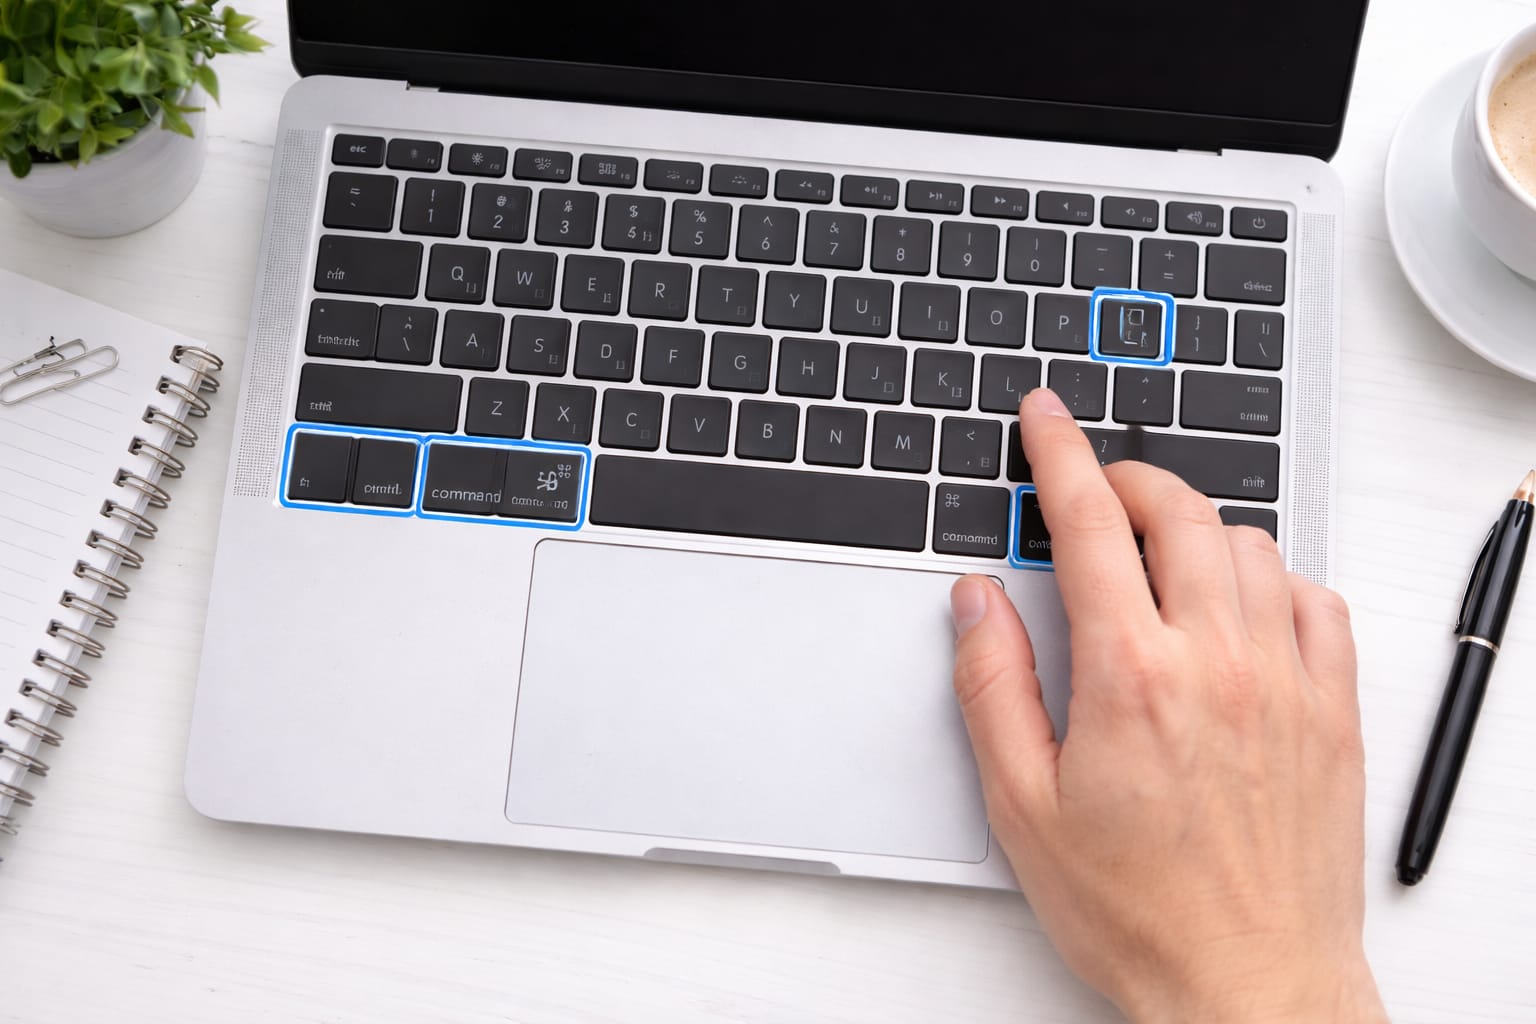
1. Capture Entire Screen (Shift + Command + 3)
Short and quick, this shortcut saves the image directly to your Mac desktop.
2. Capture Selected Portion (Shift + Command + 4)
Drag to select the area. Release to capture.
3. Screenshot Menu (Shift + Command + 5)
Opens a toolbar for:
- Selected area
- Window
- Full screen
- Screen recording
How to Take Screenshot on Chromebook
1. Entire Screen Screenshot
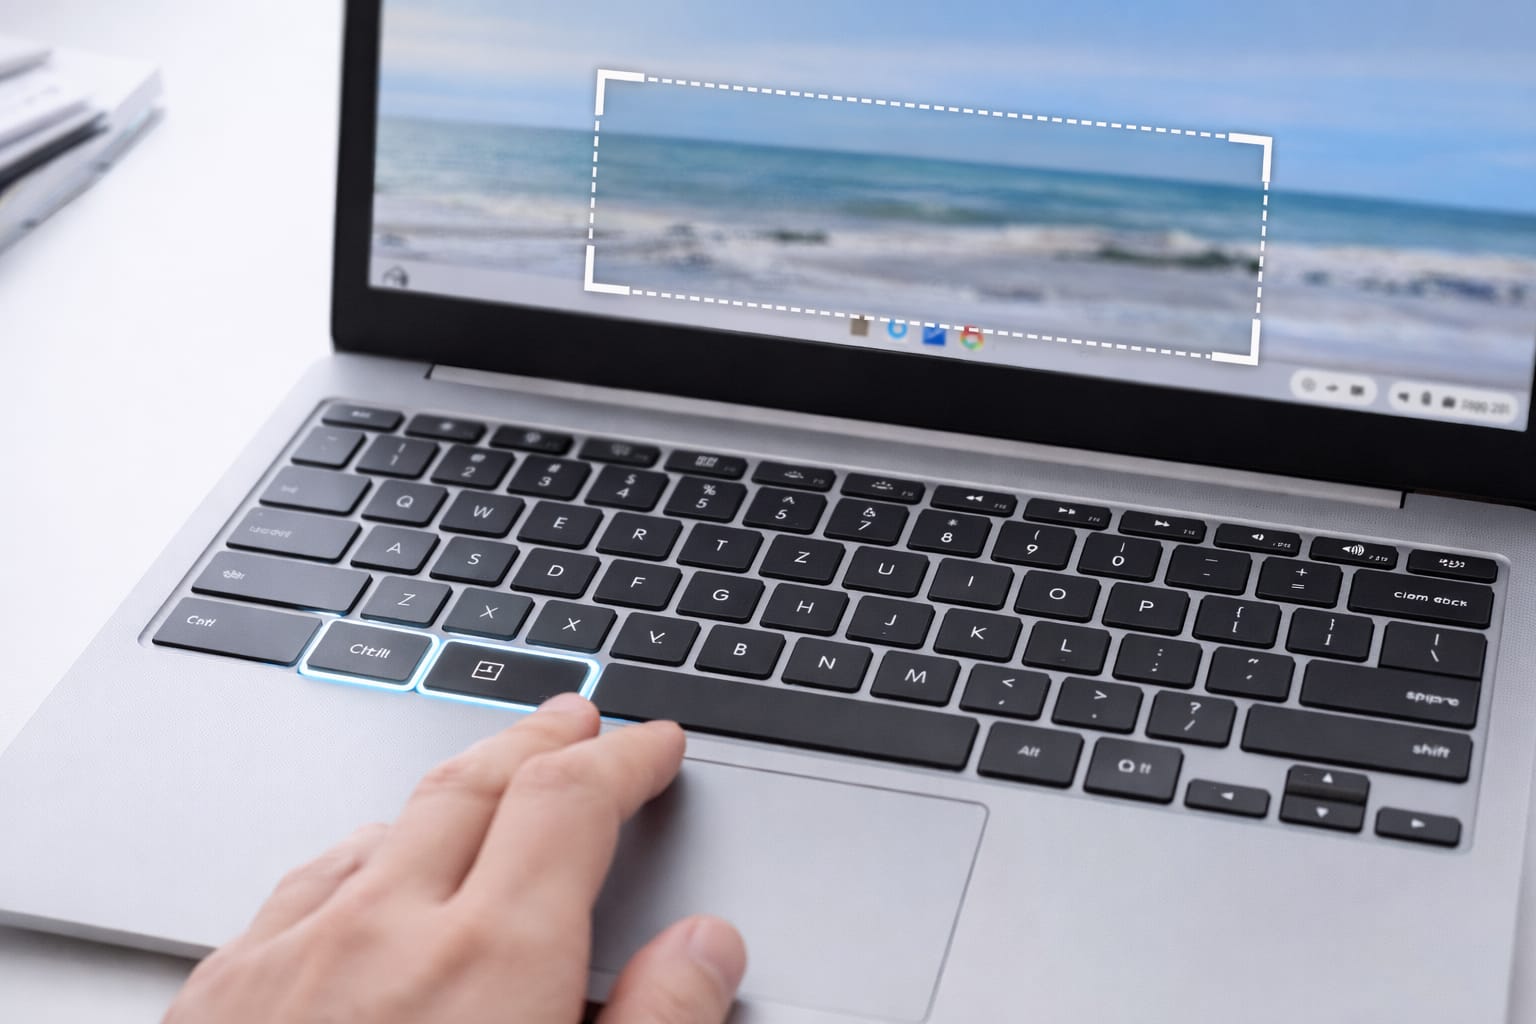
Press Ctrl + Show Windows (Square icon).
2. Partial Screenshot
Press Ctrl + Shift + Show Windows → Drag the area.
Alternative Fix (If Screenshot Still Not Working)
If none of the shortcuts work, try these commonly used solutions:
Windows Fixes
- Restart the laptop.
- Enable Fn Key (if your laptop requires Fn + PrtSc).
- Update Windows via Settings → Windows Update.
- Reset Snipping Tool settings.
Mac Fixes
- Check System Preferences → Keyboard → Shortcuts.
- Ensure screenshot folder isn’t deleted.
- Restart or update macOS.
How to Contact Official Support
You can contact:
- Microsoft Support → Search “Windows screenshot help”
- Apple Support → Search “Mac screenshot not working”
- Chromebook Help Center → Search “ChromeOS screenshot guide”
They provide step-by-step troubleshooting according to their official guidelines.
Conclusion
You now know all working methods to take a screenshot on Windows laptops, Macs, and Chromebooks. Start with keyboard shortcuts and use built-in tools like Snipping Tool or Screenshot Toolbar if shortcuts don’t work.
Frequently Asked Questions
Q1. Why is my Print Screen key not working?
This may happen if your keyboard requires the Fn key to be pressed along with Print Screen, or if keyboard shortcuts are disabled in system settings. Restarting your computer or enabling shortcut settings often fixes the issue.
Q2. Can I take screenshots without using the keyboard?
Yes. You can use built-in tools such as Snipping Tool on Windows, the Screenshot Toolbar on Mac, or the Screen Capture Tool on Chromebook.
Q3. Is it possible to take scrolling screenshots?
Yes, but standard laptop shortcuts usually don’t support scrolling screenshots. You’ll need free online tools, browser extensions, or web capture tools to capture full-page or scrolling screenshots.