Introduction
Glowforge has made digital fabrication more accessible by allowing creators to turn digital designs into physical products. From personalized signs and home décor to jewelry, gifts, ornaments, and small business products, a Glowforge laser cutter can work with a wide range of materials and creative projects.
For users who want greater control over their designs, Adobe Illustrator is one of the most powerful tools available. Illustrator is a vector-design application that allows you to create precise shapes, text, outlines, patterns, and illustrations that can then be prepared for use with a Glowforge.
Understanding how the two platforms work together can help you create cleaner designs, reduce production errors, and unlock much more creative flexibility.
What Is Adobe Illustrator?
Adobe Illustrator is a professional vector graphics application used to create scalable artwork.
Unlike raster images, which are made up of individual pixels, vector graphics are constructed from paths, points, and shapes. This makes them particularly useful for laser cutting because designs can be scaled without losing their sharpness.
Illustrator can be used to create:
- Logos
- Signs
- Decorative patterns
- Monograms
- Templates
- Stencils
- Engraving artwork
- Geometric designs
- Custom lettering
- Cut-file designs
For Glowforge users, the ability to precisely control vector paths is especially valuable.
What Is Glowforge?
Glowforge is a family of desktop laser cutters and engravers designed to turn digital designs into physical objects.
Depending on the machine and material, users can cut or engrave materials such as wood, acrylic, leather, paper, and other compatible materials.
Glowforge’s software workflow allows users to upload supported design files and assign operations such as cutting or engraving. The exact capabilities depend on the Glowforge model, material, and project settings.
Why Use Illustrator With Glowforge?
Glowforge’s own software is convenient for many projects, but Illustrator offers significantly more control over the creation stage.
You can construct highly detailed designs before importing them into the Glowforge workflow. This is particularly useful when your project requires precise measurements, repeated elements, complex typography, or custom shapes.
Illustrator also makes it easier to edit and reuse designs.
For a small business, this can be a major advantage. You might create a master sign template in Illustrator and then quickly modify the customer’s name, dimensions, or decorative elements for each order.
Understanding Vector Files
One of the most important concepts for Glowforge users working with Illustrator is the difference between vector and raster artwork.
Vector artwork consists of mathematically defined paths. This makes it suitable for precise cutting.
Raster artwork, on the other hand, consists of pixels. Raster images can be useful for engraving photographs, illustrations, and other shaded artwork, but they are handled differently from vector cutting paths.
Before exporting your Illustrator design, determine which elements need to be cut and which need to be engraved.
Preparing Your Illustrator Design
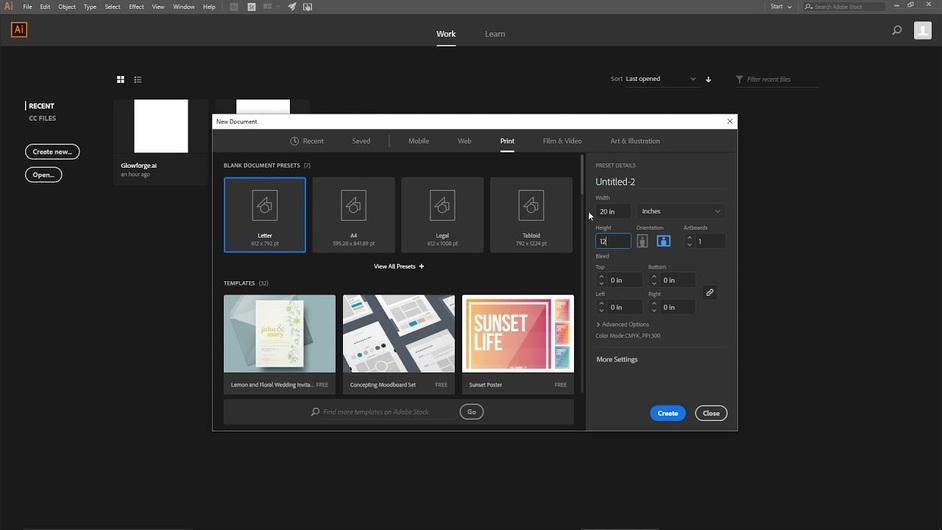
Start by setting up your Illustrator document according to the dimensions of your final project.
Create your artwork using clean paths and avoid unnecessary duplicate shapes. Duplicate lines can cause the laser to travel over the same area multiple times, potentially affecting the final result.
If your design includes text, consider converting the text to outlines before exporting. This converts the letters into vector shapes and helps prevent font-related issues when the file is opened elsewhere.
However, keep an editable version of the original Illustrator file with live text before converting it to outlines. This makes future changes much easier.
Organize Your Design Clearly
A well-organized Illustrator document can save significant time.
Use layers to separate different elements of your project. For example, you might create separate layers for cutting, engraving, scoring, and reference artwork.
Clear organization also makes it easier to identify problems before exporting.
Before sending a file to Glowforge, zoom in and inspect your artwork for unwanted overlaps, open paths, stray points, duplicate lines, or other elements that could affect the final result.
Cutting Versus Engraving
A major advantage of combining Illustrator with Glowforge is the ability to design projects that use multiple operations.
For example, imagine creating a wooden sign.
The outer border could be designed as a cut path, while the customer’s name could be engraved onto the surface. Additional decorative details might use another operation.
The design should clearly distinguish these elements so that the Glowforge workflow can interpret them correctly.
Always verify the current Glowforge software documentation and supported file-format requirements before exporting a project, since workflows and supported features can change over time.
Exporting Your Design
Glowforge workflows can accept certain common design formats, including SVG, which is widely used for vector artwork.
When exporting an Illustrator design, pay close attention to document dimensions, paths, fills, strokes, and text.
Avoid making assumptions about how a particular stroke or effect will translate into a laser operation. A visual effect that looks correct on screen may not behave as expected during fabrication.
A good practice is to export a copy of your design and inspect it before beginning the final cut.
Test Before Cutting Expensive Materials
Even when your Illustrator file looks perfect, the physical result can vary depending on the material, thickness, focus, and machine settings.
Before committing expensive material to a large project, consider creating a small test piece.
Testing can help reveal problems such as:
- Incorrect dimensions
- Unexpected engraving depth
- Material movement
- Tiny details that do not cut cleanly
- Text that is too small
- Parts that are too fragile
- Design elements that need additional spacing
A small test can prevent a much more expensive mistake.
Common Illustrator Mistakes
Several issues can cause problems when preparing designs for laser cutting.
One common mistake is leaving text as live text without considering font availability or file compatibility. Another is using extremely thin details that may not survive the cutting process.
Overlapping paths can also create unintended results.
Another frequent problem is designing without considering the physical strength of the finished object. A beautiful digital design may contain narrow connections or delicate sections that break once cut.
Always think about how the digital design will behave as a physical object.
Designing for Small Businesses
Illustrator and Glowforge can form a powerful combination for entrepreneurs.
Creators can use the workflow to produce personalized products such as:
- Wedding signs
- Name plaques
- Custom ornaments
- Business signs
- Wall décor
- Keychains
- Cake toppers
- Gift boxes
- Personalized home accessories
Illustrator makes it easier to create reusable templates, while Glowforge turns those designs into physical products.
This can allow a small business to offer customization without redesigning every product from scratch.
Keep Your Original Files
Always maintain an editable Illustrator version of your work.
Save the original .ai file separately from exported production files. This allows you to modify dimensions, text, graphics, or customer information later.
A sensible workflow might include:
Original Illustrator file → Production-ready SVG → Glowforge project
Keeping these versions organized can make repeat orders much easier to manage.
Conclusion
Adobe Illustrator and Glowforge complement each other extremely well. Illustrator provides precise control over vector artwork, while Glowforge turns those digital designs into physical products through cutting and engraving.
The key is to understand the difference between digital artwork and physical fabrication. Clean paths, appropriate dimensions, organized layers, outlined text, sensible details, and careful testing can make the entire process smoother.
Whether you are creating a one-time craft project or building a small product business, learning how to prepare Illustrator files properly can help you get much more from your Glowforge and produce cleaner, more professional results.